Friday 30 December 2011

Embroidery Art


Hello People!

  
There's one more of my crazy ideas... I  start off project with one view and end up finding completely new use for it!I started embroidering a white cotton bedspread (something that rubbed off on to me from my neighbourhood housewives in 1999)


This project took longest period of 5 years to complete ! It was humongous project that was always kept on the back burner :)
So I printed floral peacock design on four corners of the bed spread and a freehand design in the centre. I used silk threads and cotton silk threads for embroidery.

Stitches used for Peacock Design:
  • Satin stitch
  • Stem stitch
  • two thread running stitch
  • Chain stitch
French knot (moti taka) was used for completing the free hand design in the centre.
  

 Later I realised that using this white bedspread for everyday living is not ideal. (Note: I am not a fan of "daag acche hai movement!")
So decided to reuse it as decor item. Peacock design was cutout and glued on plain beige coloured lamp shades. (See Below).


 The centre free hand design was framed to make a wall decor.
The work has very professional finish and people promptly ask, "Where can I buy this?"
I am always happy to say that it's one of piece made by me :) 

Thanks so much for visiting The Craft Gallery. I would be honored if you would take a moment to like our new Facebook Page "The Craft Gallery"  

Friday 23 December 2011

Stained Glass Painting - Flowers


Please note: I have published this post on Craftziners in last week and wish to share it with my blogdost who are not on craftziners. I am not a pro blogger yet so can't link back to my old post hence reposting!


In early 2002 as I was busy enrolling in to various art classes and learning new skills... I came across stain glass painting. 


Originally this art involved cutting coloured stones of varying sizes and piecing them together with lead material to make a picture. This picture was then illuminated with back light! 


Stained glass lamp shades are the perfect elements to utilize for this art. It needs a glass tinting paint that is easily available either online or offline.

Glass painting designs of peacock are quite famous among house owners as peacock is considered as lucky bird in many cultures around the world. You can paint wine glasses to get the feel of same elegance that were during the time of historic rulers all over the world.

Though authentic lampshades are still made in this pattern, wall decors can be made with easy tools and skills.


Materials used

  • Wooden frame
  • Aluminium Foil
  • Stained glass paints
  • Flower pattern printed on A4 size paper
  • White liner  
  • Glass frosting gel

 
 Step by step process:

  • Remove the glass from the wooden frame and place it on the A4 size pattern. 
  • Using White liner trace the pattern on the glass
  • Let it dry for 30-40 minutes paint the flowers with stain glass paints. Be careful not to mask the outline
  • Mix two colours to create shaded effect ( see leaves)
  • If the pattern is small then cover the rest of the glass with glass frosting gel or make some patterns with paint(as shown) 
  • Leave the painting flat for drying
  • Add crumpled aluminium foil to the background of the frame before setting the glass frame
  • This makes your design stand out! 
  • The right side of the glass is turned inside while framing. This means you can't feel the paints and liner after framing. 

This is very versatile art and can be used for painting window panes, cabinet doors and entrance doors. You also get readymade stained glass panels as wall lights from IKEA !


In order to get such incredible glass painting ideas, do not forget to subscribe for our newsletter. You can find the link available at the right side of our website home page!


Thanks so much for visiting The Craft Gallery. I would be honored if you would take a moment to like our new Facebook Page "The Craft Gallery"  

Tuesday 20 December 2011

Easy Craft - Felt Owl!

making sure the pattern and felt pieces match
I recently came across this simple free pattern from Articles Sew Simple site. I created this owl from the same pattern. Its quick and easy hope you'll will like it. 

Please download the pattern from the link above.

Materials: Two contrast colour felt pieces, Suitable colour Cotton Embroidery thread, Thick Embroidery needle, 2 black buttons(small size), small piece of ribbon

back side and front side
Process:
  1.  Cut out the various body parts from the pattern
  2. Place the various body parts on the felt and pin it together. Cut the felt pieces as mentioned.Tip: Cut body, Eyes, beak and foot pattern in same colour felt. Use contrast colour felt for pupil, face and tummy pattern
  3.  Stick the face, tummy, eyes, pupil and beak with craft glue on front side of the body. (use glue sparingly) Stitch all parts with running stitch using  the embroidery thread. Use thick and bold coloured thread so it stands out. (stitches should be even and small in sizes)
  4. Stitch the black buttons for perfect eyes with a black thread. 
  5. Using Blanket Stitch cover the outline of the four feet's. This will stop the frail edges and give a finished look
  6. Stitch the hands to the back side of the body and the feet to the front side of the body. Use matching thread for this stitch so it's not visible in the final product 
    Blanket Stitch
    pattern vs final product
  7. Match the felt pieces with the pattern cut out as shown below. This will ensure you have all the pieces in right places.
  8. Stick the backside and front side of the owl's body using a blanket stitch. 
  9. Keep a small opening near the feet, so as to fill in the wadding. 
  10. Close the end with blanket stitch or running stitch. 
  11. Stick some fancy ribbon on the top as a hook. I thought of adding hook after completing the project.  (Tip: attach the hook to the backside of the body before stitching for more professional look)

It took me only 3 hours to complete this project on Sunday afternoon!


hanging proudly on nursery room's door
Thanks so much for visiting The Craft Gallery. I would be honored if you would take a moment to like our new Facebook Page "The Craft Gallery"  

Wednesday 14 December 2011

First Knitted Sweater

 This is begining of my Knitting craze.... I made this for S prior to her arrival.... Thanks Mum for teaching me this skill!


 It took me 2 weeks to make this ..as I was a rookie then!
The fact that it turned out to be usable standard got me hooked on to knitting .....

Materials required:
  • Knitting Needles size 6mm
  • Pure Bambino Wool : 2 balls (100 gms)
  • 2 wooden buttons
  • Wollen stiching needles
Size: 0-3 months baby  

Thanks so much for visiting The Craft Gallery. I would be honored if you would take a moment to like our new Facebook Page "The Craft Gallery"  

Tuesday 13 December 2011

Quick and Easy - Wollen Quilt


This cheat quilt is brain child of my Mum and me---- who always love to make quirky things from "Items for Sale" box placed outside the craft store ! 

Items required for the quilt :

  1. Woollen Knitted Squares
  2. Quilt Wadding (Polymer fibre)
  3. Spare Cotton piece for backing 
  4. Some spare wool 
  5. Some pare time and Patience 
 As we love checking the sale box at our corner craft store , we stumbled across stash of knitted samples of various types of wool. These were for 50cents each and unanimously we thought it will be of great use! So after brainstorming and watching/reading too many BHG magazines we had this "Cheat Quilt" Idea! 

Quilts made from scratch includes preparing the quilting blocks (in this case the knitted samples) , which are stitched  together. So we stitched all blue shaded blocks together (hand sewing, machine doesn't work :( thanks Mum )
Then attached wadding and backing of the same size. To get exact square shape we had to twist some corners inside the quilt. Once all the ends were stitched (by hand) we used baby blue coloured wool for quilting (running stitches across the blanket)  squares which keeps the wadding and backing together. 

Credit of making this Quilt entirely goes to my Mum for doing all the hand stitching :) ... I tried to play the role of catalyst ... to keep her motivated from time to time :D 

Thanks so much for visiting The Craft Gallery. I would be honored if you would take a moment to like our new Facebook Page "The Craft Gallery"  

Wednesday 7 December 2011

Tanjore Painting


 This is my first attempt of creating Tanjore Painting. 
I saw an advert in Times of India Pune in 2001 for Art Class where classes for various arts were offered. I liked tanjore painting and decided to complete one frame under guidance... 
Now I regret not taking photographic memories of each steps involved in this painting. 

It is very meticulous art of painting and needs lot of dedication and eye for detail. It took me 20 days where in I worked on this frame for 4 hours everyday .
 If anyone of you are interested in knowing more about this art form please follow this blog

I don't think I can replicate this art without guidance yet, but one day I would really like to master this art ...
Thanks so much for visiting The Craft Gallery. I would be honored if you would take a moment to like our new Facebook Page "The Craft Gallery"  

Tuesday 6 December 2011

Valentine Gift Box - Parchment Art

Valentine Box
 
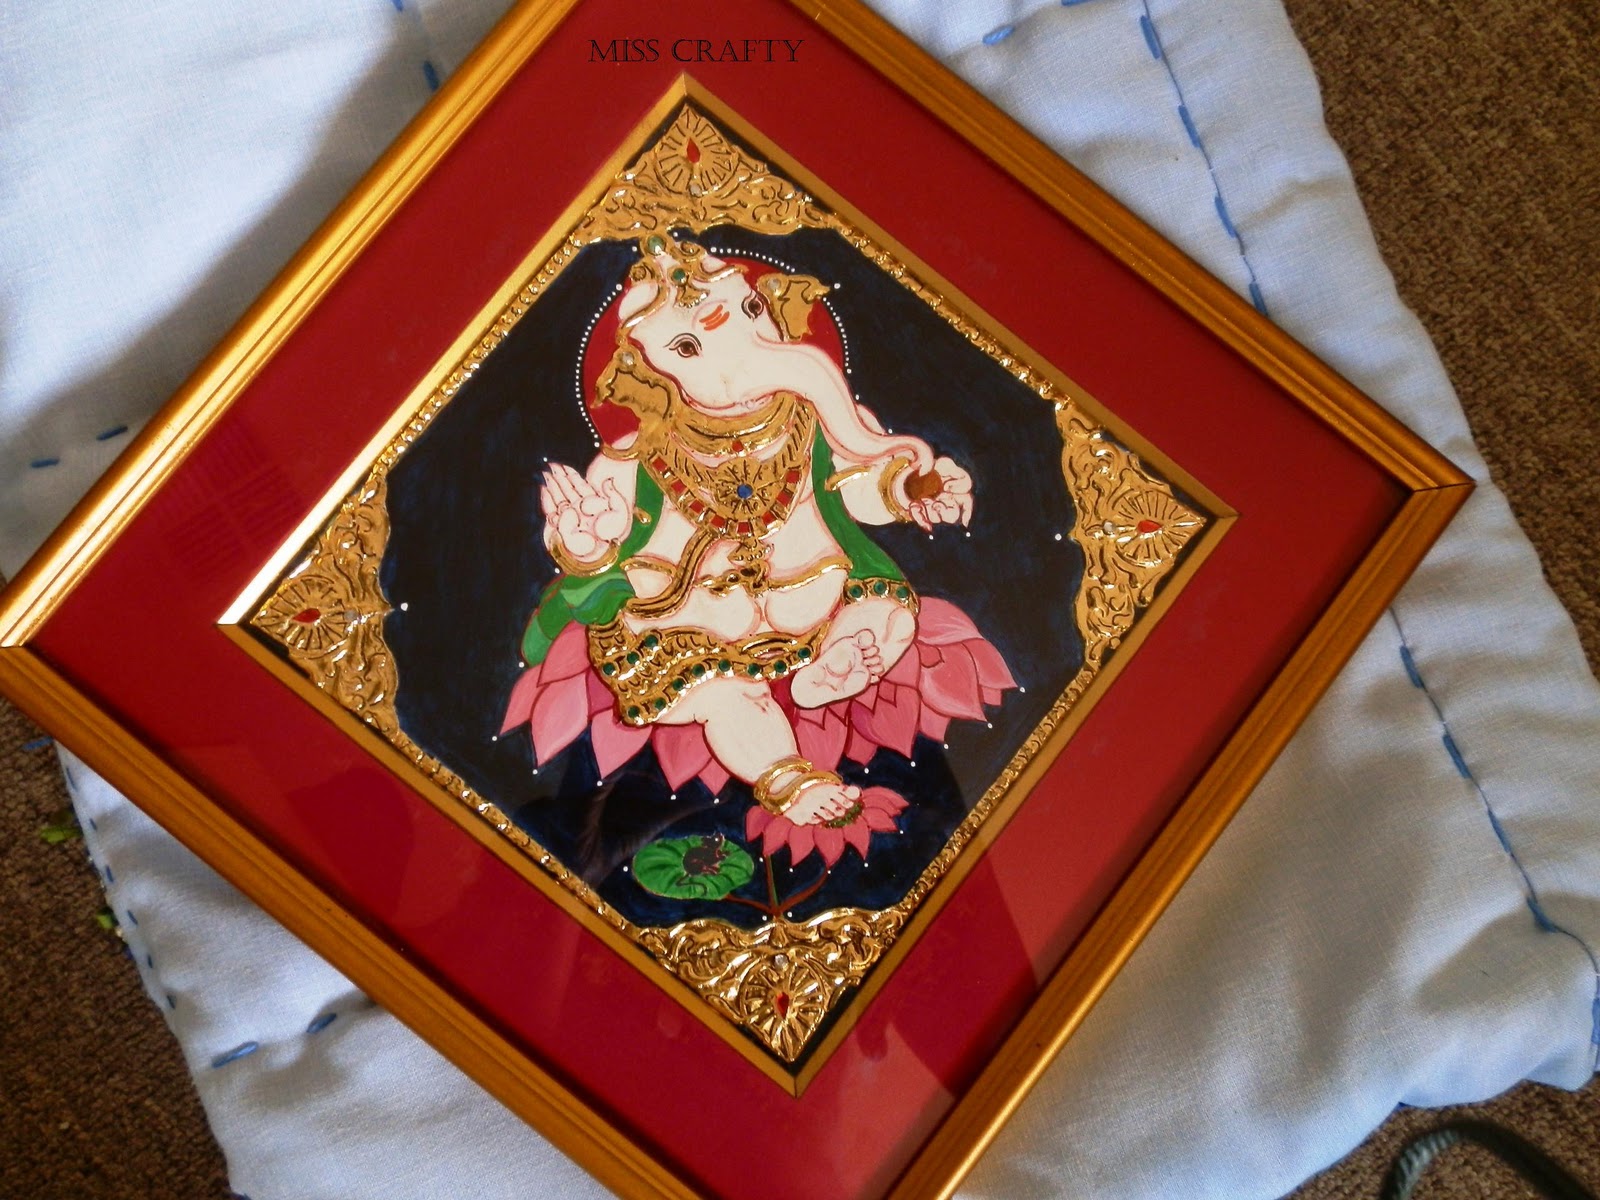
Parchment Art (Pergamano) is 15th Century Art which has now been revived by Norwegian Artist and branded as Pergamano. Embossing, stippling, perforating, colouring and cutting of vellum paper are elements associated with Parchment Art, isn’t exciting?
 
This incredible vellum art is widely utilized for crafting various kinds of cards. This technique is used on picture frames, bookmarks and even sculptural paper work as well. 
With the help of coloured pencils, the parchment art can be taken to next level.
 
Art lovers all over the world visit the Parchment Art galleries to appreciate the art work created by professionals. If you are looking for Parchcraft Australia services, look no further than The Craft Gallery. We can make you fall in love with embossed paper art pieces
 
Please contact us now in order to buy our paper parchment craft art pieces. We specialize in delivering stunningly creative Parchment Art pieces for the people like You!


Valentine Box - Open view
 
This art involves many skills like tracing, embossing, painting and perforating with special scissors. Tools for these skills are also produced by Pergamano Company and Parchment Craft Australia (PCA). 
 
I learnt this art in 2002 in Pune through one of those classified art class advertisements. Though, later I learnt that the lady was not registered teacher (She certainly had the skills - but never gave the certification exam).
 
I made a fan - wall decor under her supervision in India, but later kept on finding more free patterns from Pergamano website to pursue my own art. 

A sweet message inside the box


This box was created in 2008 by using a free pattern provided on the Pergamano website. 
Materials:
1.       A3 size White Vellum Paper
2.      Gold Tint Ink
3.      Embossing Tool
4.      Perga Glue
5.      Perforating needles
6.      Perforating Scissors
7.      Embossing Pad 
8.     Perforation Pad 


Valentine Box - Lid with Angel Pic


I liked this box as it’s an ideal size for those surprise cute gifts and it can be adapted for many occasions by changing the message inside it. These boxes are very quick and easy to make! If you want similar to this one, please let me know. You can visit The Craft Gallery to know more about such products!


Side View of the Box


Thanks for reading, do let me know if you would like one!


Thanks so much for visiting The Craft Gallery. I would be honored if you would take a moment to like our new Facebook Page "The Craft Gallery"  

Friday 2 December 2011

New Project - Textiles

 Very excited to start something new in this coming year!!! Got these coulour full bold printed fabrics from IKEA few weeks ago!

Mum got some ideas about using these fabrics in making some frocks and quilts... Shall keep you guys posted about it in the New Year!
 Please throw in some ideas -About to use these fabrics
Thanks so much for visiting The Craft Gallery. I would be honored if you would take a moment to like our new Facebook Page "The Craft Gallery"  

The journey so far for The Craft Gallery !

Dear friends, I am humbled to see how my simple hobby craft blog " Miss Crafty" has now turned in to an Online Gallery showcasi...